Showing posts with label mixed media art. Show all posts

Friday, February 23, 2018

Get up. Get Dressed. Paint: Seeing gold.


First painting completed in the book Release Your Creativity.  Found this assignment difficult having to work primarily with gold paint.


 There are four layers of gold paint with the white and red ink drips and splatters.  After the third layer I found myself growing tired of the process of covering up the previous layer and starting again.  The drying process for each layer tried my patience. 

The layers peeking through.

I created this canvas while working in the journal to give away for Art Abandonment.  I keep putting off dropping somewhere it as I worry no one will want it.  


Joining in at Paint Party FridayWhat color paint is on your fingers this week?


Friday, January 26, 2018

Get up. Get Dressed. Paint.: Blue Sky Thinking

Created this spread in my Winter Blues altered book.  The sun was so brilliant and radiant on this blistery, cold afternoon I had to stop to photograph it.  This Willie Nelson song is one of my favorites.

The names of the paints on this paint chip perfectly fit in with the theme.

Loving the effect of the blue Color Shift paint.


I stumbled on a new technique:, embossing the torn edges of the vellum paper.  Here I used a bright blue and  snowflake tinsel embossing powder by Ranger.


Sharing my art with Paint Party Friday.  What color paint is on your fingers?

Friday, January 19, 2018

Get up. Get Dressed. Paint.: Winter Blues

Reconnecting with my Winter Blues altered book.


These feather were created by painting white acrylic through a stencil on blue card stock.  After allowing to dry, I  placed the stencil back over the paint then sprinkled Infusions in Violet Storms, Sleight Blue, and In the Blue then lightly spraying with water to activate the Infusions. You can view this technique HERE.

Joining in with Paint Party Friday.  What color paint is on your fingers?

Friday, January 5, 2018

My Word for 2018: Focus

The aftermath.
 After long hiatus from painting, it feels good to paint in my art journal again and make a creative mess.


Used silver thread to hang the stars and Liquid Chrome pen to outline each star.

First time using DecoArt's Neon Lights fluorescent paint.  These are beautiful colors to work with.

Do you have a word for 2018?

Joining in with Paint Party Friday and Mixed media Monthly                                 


.

Friday, September 29, 2017

Get up. Get dressed. Paint.: Dialoguing

My mind simply was not going to let go of the overwhelming feelings of sadness, anger, resentment and discouragement until I dealt with them.
I drew a heart on plaint white card stock then used a journaling technique I learned in Susannah Conway’s Journal Your Life e-course, dialoguing.  The idea is to write a dialogue on the page between you and someone/something else where you ‘play’ both parts. Feeling frustrated with the school’s inept leadership and behind the scenes favoritism, I let them have it and I felt better when I arrived at the bottom of the page.


I used my bits of scraps to collage the heart

Thinking about adding it to this abandoned spread in my Listen to My Heart art journal, but it needs something....


I found a piece of left over Sari yarn and stitched it on. Perfect!

The Completed Spread


The next page will peek through the cut out hearts.  Contemplating some hand stitched hearts.
What do you suggest

Joining in at Paint Party Friday.  What color paint is on your fingers?


Saturday, September 2, 2017

Stop Pinning and Make Something! September Link Party

Project: Art Box
Pinterest Board: Mixed Media Mayhem
Pin: HERE

"Window into My Art" box
When I spied the whimsical painted box filled with tags over at The Kathryn Wheel I instantly knew I had to make one for my art.

The Process

 This wooden box had been sitting in my class storage room for a while holding miscellaneous junk.  It was the perfect size.

After paining it white with acrylic paint I began the process of decoupaging it using my favorite decorative napkins.

Beginning with the sides then carefully folding the napkin over the lip of the box towards the inside.

 Completed side after drying for several hours.

 Inside bottom of box

It took all day, working on one side at a time, with one hour of drying time in between to get all four sides and the inside covered.  I used the leftover scraps to cover the partitions.

After allowing it to dry for several days (Michigan humidity) I began decorating it using stamps and paint.

Hardware

After completing some "research" via Pinterest, I decided to use Tim Holtz Idea-ology FOUNDATIONS Metal Box Feet Foundation and Tim Holtz Idea-ology ORNATE PLATES.  


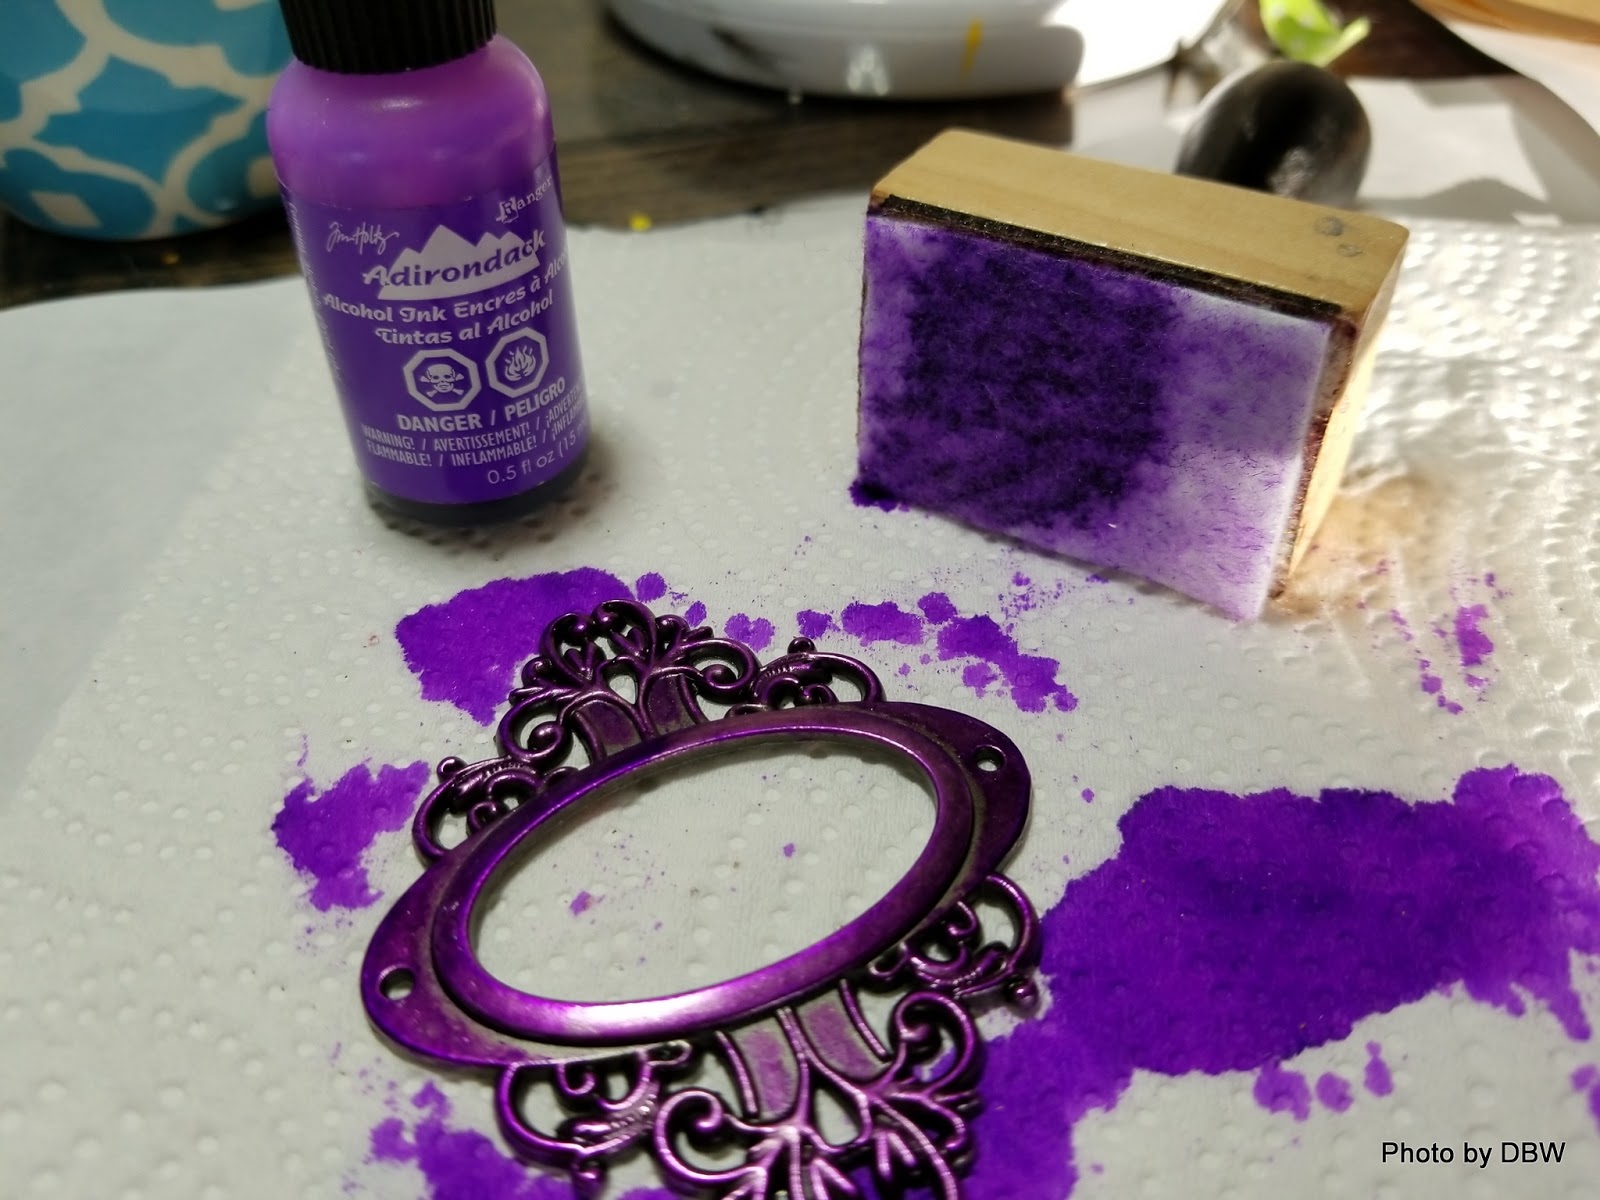
I like how the purple ink seeped through the white embossing

I used this same process for the feet:


This is the glue I went with for attaching the metal pieces to the box.


Finishing Touches

At this point the project stalled as I grappled with how to finish decorating it.  My original thought was to add flourishes but I could not seem to find or make the right ones.  After pursuing the local craft stores I happened upon these chipboard words.  To get them to match the grunge look of the metal I first gessoed them, paying close attention to all the edges.
`

After the gesso dried I covered each word with Distress Oxide ink then embossed them using the same embossing powder used on the metal pieces.

Some of the purple ink peeking through.

Tinted this lace with Dylusions ink spray in bubblegum pink

Eye Candy


Completed box

Inside partitions

Front view

Side view

Back view

Side view

Adding a few of  my art pieces

 It's Your Turn!

Grab the button, start creating and share your link below.
• Please use the direct URL to your blog post rather than to the blog itself.
• If using Flickr or Instagram, use the URL to the photo.
• Include the link to your Pinterest board and pin you used..
Remember to link back to THIS direct URL in your posting.

Go Here to learn about Stop Pinning and Make Something!